
FrameMaker 2017 NEW FEATURE: The Project Manager
The Project Manager
 Starting with FrameMaker 2017, the Project Manager gives you the ability to collect assets related to one or more projects without directly including them in a book file.
One of the biggest advantages to a project file is drag and drop access to your graphics files. Once you’ve added a folder to your project file, you can navigate subdirectories, and drag and drop directly into your FrameMaker documents. Best of all, the files are placed using the new Image Insert workflow in FrameMaker 2017, meaning that large images will be automatically sized down to fit the column you’re placing into.
To create a project containing your commonly used graphics, follow these steps:
Select File > New > Project to display the New Project dialog.
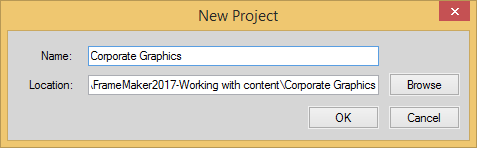
Choose an appropriate location to store the project, one that is easy to get to, and click OK to display your new project.
Add existing locations (folders) to your project with the Add Location button.
Create new folders as needed using the Create Folder button
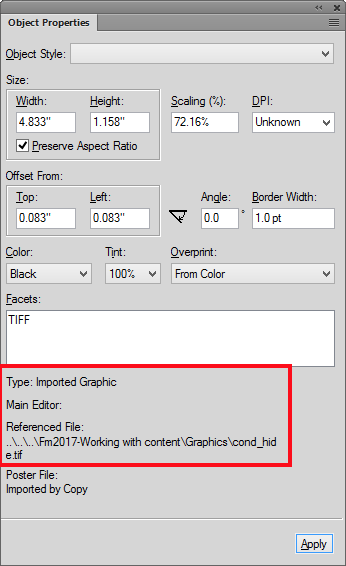 Navigate to your graphics files and drag directly into your FrameMaker files as needed. Files are placed by reference, meaning that they use the Import by Reference option, rather than Copy into Document.
Manage your files
The project manager gives you the ability to manage your files and file structure without leaving FrameMaker, which can save a lot of back and forth with the Windows File Explorer.
Watch the video
Here’s a video that shows how it all works, including showing you how to reference a Project file in a book, how to organize assets with folders, and how to reference multiple network locations within your project manager file.
Once you see how easily you can reference and manage your project assets, you’ll be hooked on this new workflow.

Join over 4,300 of your peers and get my latest content sent to you for free, along with some of my all-time favorites.